Combining Illustration and Letterpress Printing.
Combining illustration with letterpress printing is a process I have been playing with for a long time and something I used in my undergraduate thesis work in 2013. At that time I knew very little about the proper care of woodtype or printing presses, and my typography was abysmal. Since then I feel I have learned a great deal about the process and this page will detail how I go about combining ink illustrations with letterpress printing. Much of this information will be transferable to combine other mediums with letterpress, but I ask that you always consider your equipment. There’s only so much wood type out there and we need to care for it.
The square images below can be enlarged by clicking on them.


Sketch
I always begin with sketching out my drawing in detail and refining it with an ink outline. This allows me to know exactly where all the major elements of my drawing will fall and is important when considering where your text will be and how it will interact with the image.
Setting Type
Next, I set my type. I’m usually working with single words or small phrases and printing with large wood type. Once everything is in the press bed, I begin testing. When testing, I start printing with a fresh sheet of drawing paper with a piece of tracing paper on top. You must use the same drawing paper for testing that you used for the drawing to ensure the paper’s weight (thickness) is the same. When you pull the print be sure the tracing paper is on top of the drawing paper, this way the printed text will be printed on the tracing paper. You can then take the printed tracing paper and lay it over your drawing to see where it will fall when you pull your final print.
Makeready and Adjustments
Next, unless you are extremely lucky or talented, you will need to adjust and apply makeready to your type. I usually end up needing to use a number of pieces of tracing paper and always ask one or two people to spellcheck for me. Nothing is worse than a perfect print with a massive spelling mistake.
Masking Fluid
When everything is perfectly laid out, you will apply a thin layer of masking fluid to the sketch to selectively block out where the wood type will contact the paper and prevent it from printing. When you go to print be sure you place a piece of tracing paper behind your drawing. You must do this because you have set your press up to print with the thickness of your drawing paper plus one sheet of tracing paper. If you don’t, your print will not have enough pressure for a proper print.
Pulling Your Print
When everything is inked and ready, pull your print. I find working slow and having a partner to be very helpful, as a large drawing can be difficult to control. My work is done on a Vandercook 325G proofing press. This press is very large and seems to be ideal for my processes, but I have done similar work on a Vandercook SP15 and a Challenge EZ.
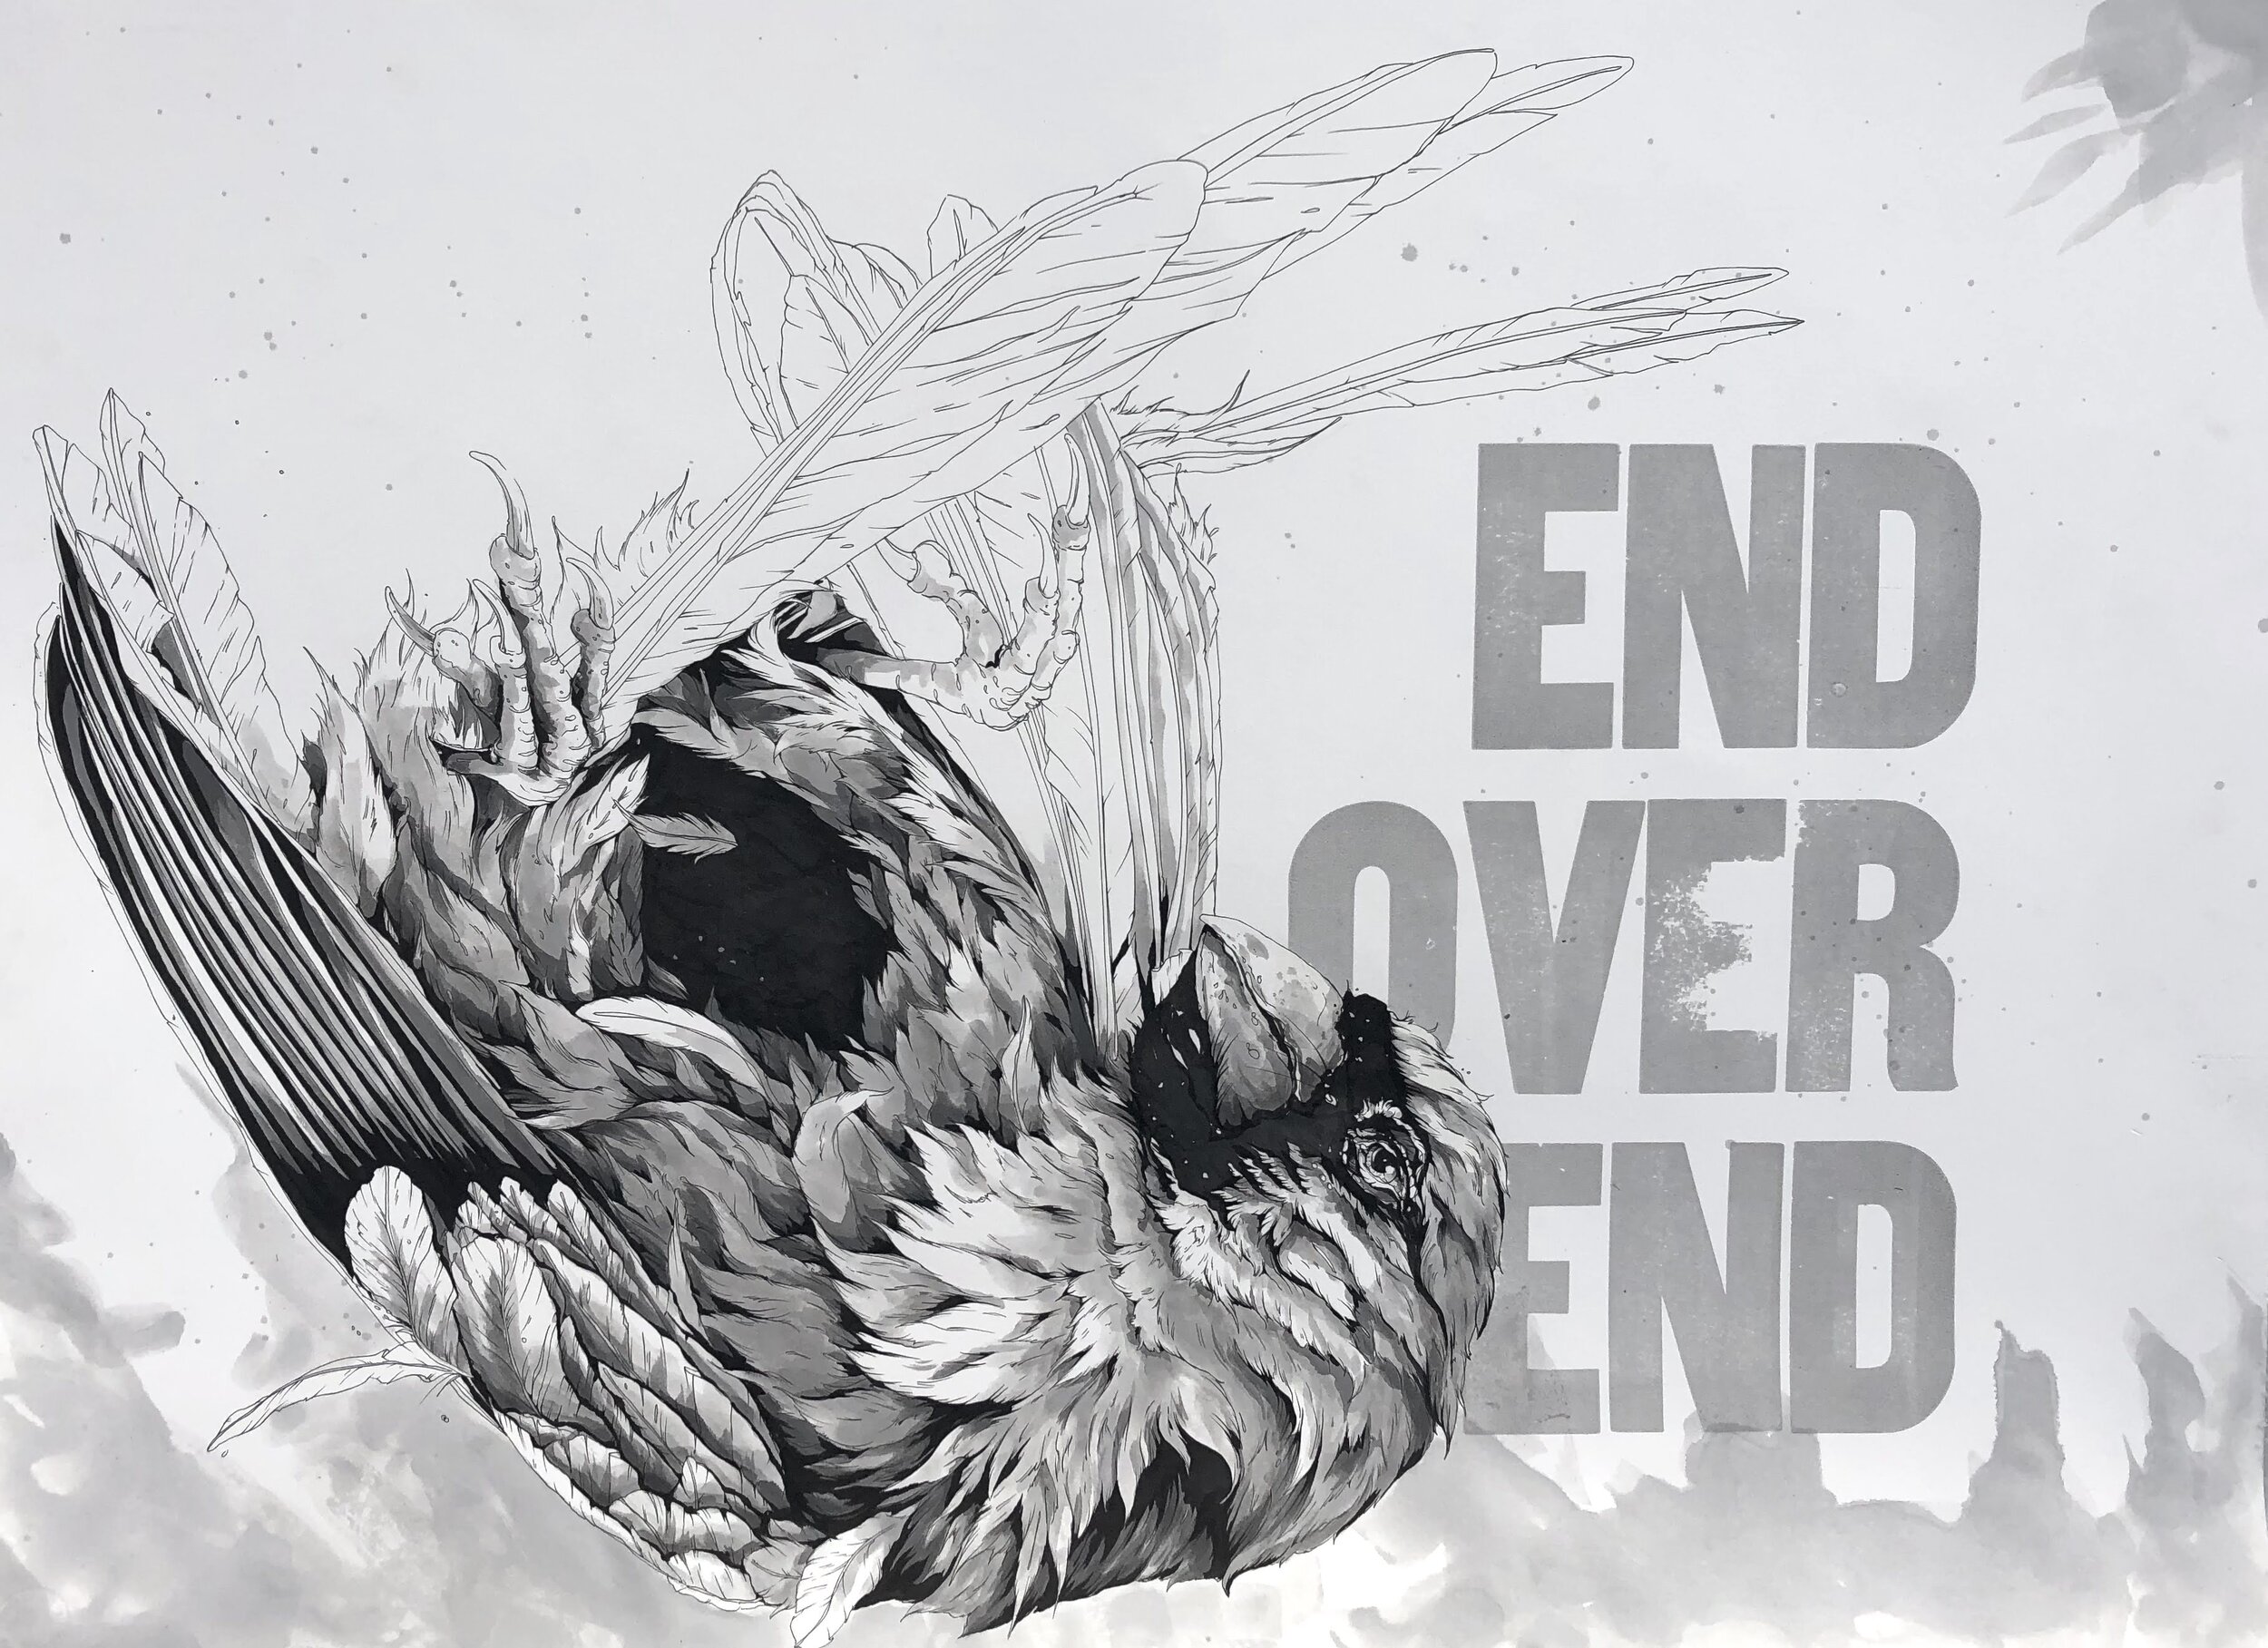
Artwork in progress after the wood type has dried and the illustration process has begun.
Masking Fluid Removal
After the ink is dry the masking fluid should be removed. The masking fluid can be difficult to remove depending on how long it has been allowed to sit on the paper and the type of paper being used. For this process, I use Strathmore 400 Series Bristol Board Smooth. I prefer the smooth to the vellum and have had better results. The vellum and other textured papers seem to stick more firmly to the masking fluid causing the paper to peel. To remove the fluid, I find it is best to simply rub your finger across the fluid and allow it to slowly gum up so you can pick it off.
Finishing
When the masking fluid is removed, the drawing is completed using Sumi ink and brushes. This process could easily be transferred to watercolor and many other mediums. You must however be sure to consider whether the medium is adding thickness to the paper. If using a thinner medium such as oil paint, you can cause too much stress on your type and damage it. For thinner mediums, I would suggest later cutting your own wood type.


Things to think about.
With printing equipment being so valuable and difficult to acquire, I recommend having a strong understanding of how to set up and print wood type before attempting this process. This will help to ensure you do no damage to the type in your collection.
Adjusting your press packing. You may need to change the packing in your press to accommodate a thinner drawing paper. If you are getting any embossment or feeling resistance, stop printing and adjust. Embossing the paper is not only a poor printing practice but also very hard on your wood and metal type.
Accounting for the thickness of your masking fluid. The masking fluid, although very thin, does still add thickness to your paper. This can cause two issues; one is poor printing, and the other is uneven pressure resulting in possible damage to your wood and metal type. You will need to take extra care with how you apply makeready and set up your press to ensure you have the perfect pressure for printing.

The Indiana University Letterpress Studio or Type Shop I manage and research as a design faculty member.